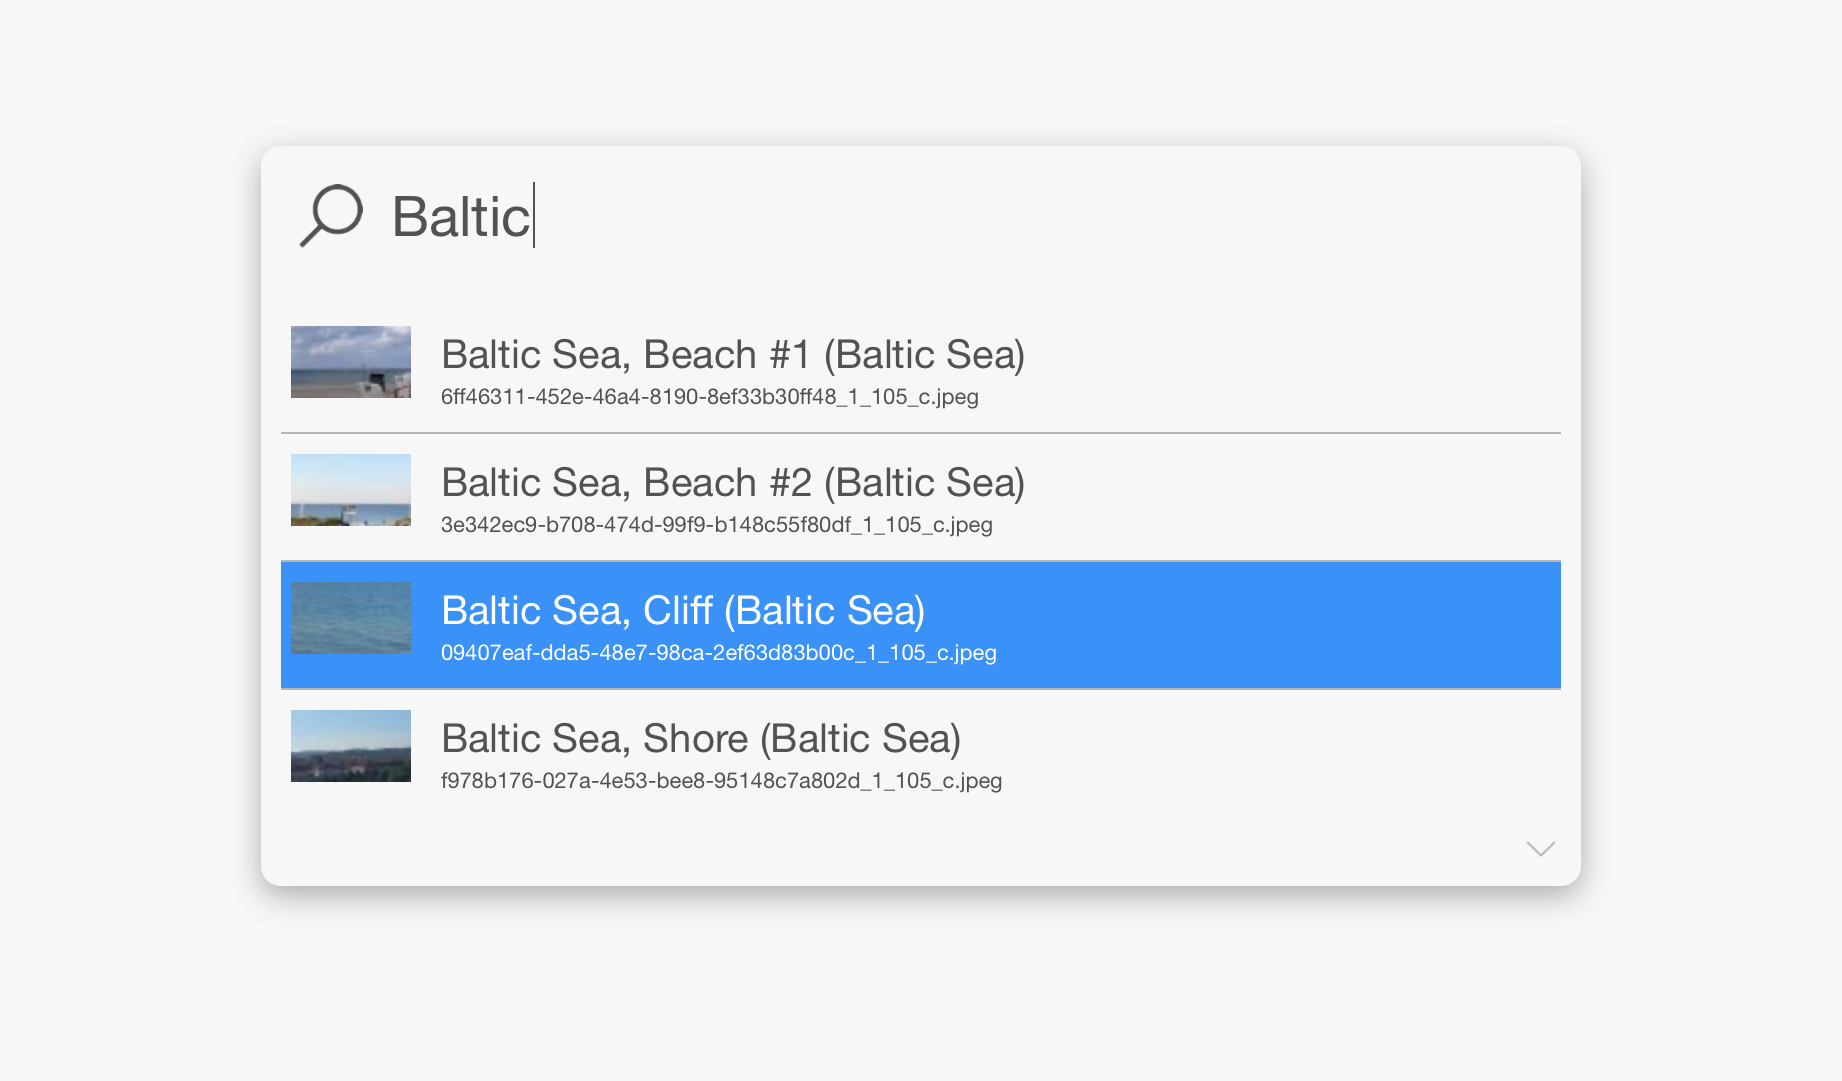
A no-depencies JavaScript UI component that offers the UX of Apple's Spotlight
Yupput has been developed as a valuable component of RexMd. You are very welcome to use Yupput in your own projects.
The Yupput dialogue

First impression of the Yupput dialogue
Pure JavaScript, no depencies, easy to customize
The jump start
Adding Yupput to your project
Download Yupput and then simply add both the CSS and the JavaScript file to your project. Place the CSS link to the <head> of your page and the JavaScript to where your </body> ends.
CSS
<!-- (...) -->
<head>
  <!-- (...) -->
  <link href="<path-to>/ytils.yupput-0.9.css" rel="stylesheet" type="text/css" media="screen" />
  <!-- (...) -->
</head>
<!-- (...) -->
JavaScript
<!-- (...) -->
    <script src="<path-to>/ytils.yupput-0.9.js"></script>
    <script>
        <!-- Yupput instantiation follows here. -->
    </script>
  </body>
</html>
Basic Yupput usage
The following code snippet demonstrates the basic usage of Yupput. The
var yupput;
var sampleData = { /* Your data here. See detailed documentation. */ };
var yupputSelectionCallback = function(selectedYupputItem, inputValue) {
  console.log("The data object of the selection: " + selectedYupputItem);
  console.log("The current value of the text input: " + inputValue);
  yupput.hide(); // Finally hide the Yupput dialogue (can be configured to automatic hide).
};

yupput = new Ytils.Yupput(sampleData, yupputSelectionCallback, {
  // Some sample configuration options:
  placeholder: "Your custom placeholder",
  maxItemCount: 3,
  preloadImages: true
  // See detailed documentation for all configuration options.
});

 Download Ytils Yupput
 Yupput user interface
 Yupput developer documentation
